Crispy Chicken Tenders Recipe | Easy & Delicious Snack Idea
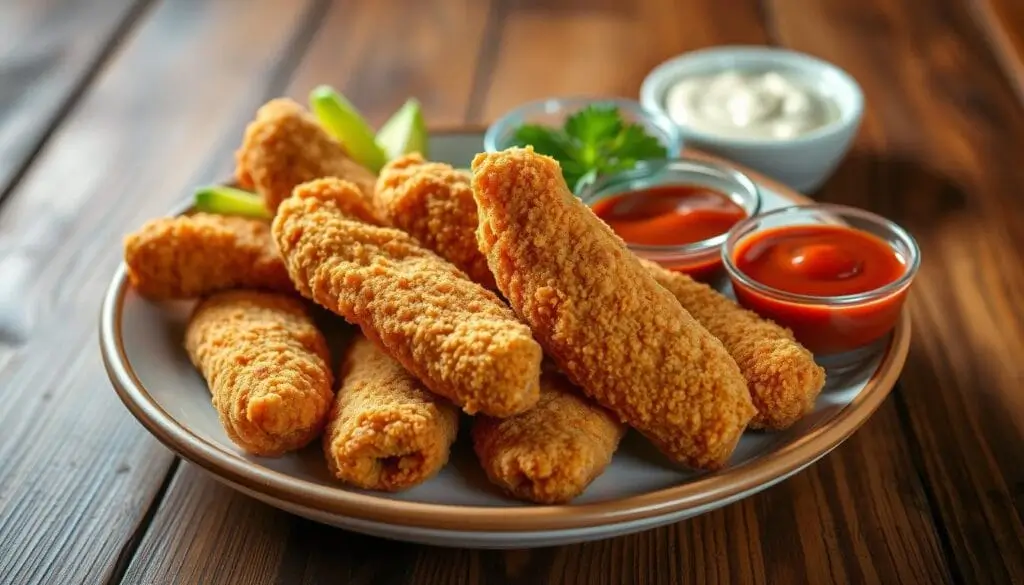
Table of Contents
Homemade chicken tenders bring families together. There’s something special about biting into a crispy, golden brown tender. It’s packed with flavor.
Making the perfect crispy chicken strips is more than cooking. It’s about creating a memorable meal. These homemade tenders are great for any occasion, from quick dinners to casual gatherings.
Today, I’ll share a foolproof way to make restaurant-quality chicken tenders at home. You’ll learn how to choose the best ingredients and the secret to a crispy coating. You’ll make chicken tenders so good, everyone will want more.
Key Takeaways
- Learn to make restaurant-style crispy chicken tenders at home
- Discover a unique breading technique using multiple ingredients
- Master the art of achieving the perfect golden-brown exterior
- Understand proper frying and baking temperatures
- Explore versatile serving and pairing options
Why Homemade Chicken Tenders Are Better Than Store-Bought
Turning your kitchen into a gourmet haven starts with homemade chicken tenders. With nearly 74 billion chickens processed yearly, making your own is a big win.
Understanding the Quality Difference
Store-bought chicken tenders often can’t match the freshness and care you can give at home. Homemade chicken tenders offer:
- Higher quality meat selection
- Fresh ingredients
- No preservatives
- Better texture and taste
Cost-Effectiveness of Making Your Own
Making your own tenders is surprisingly affordable. You can:
- Purchase meat in bulk
- Control ingredient costs
- Avoid markup from processed foods
- Reduce packaging expenses
Control Over Ingredients and Seasonings
The magic of homemade chicken tenders is in customization. You decide exactly what goes into your meal. This lets you tailor meals to your taste and dietary needs.
Cooking is about passion, creativity, and the joy of making something delicious from scratch.
By choosing to prepare your own chicken tenders, you’re not just cooking—you’re crafting a healthier, more personalized dining experience. Store-bought options just can’t compete.
Essential Ingredients for Perfect Chicken Tenders
Making the perfect crispy chicken strips recipe begins with the right ingredients. The quality of your chicken tenders depends on what you choose. It’s all about the ingredients when making this tasty homemade dish.
- Protein Base
- Boneless, skinless chicken tenderloins
- Chicken breast cut into strips
- Coating Components
- Plain or panko breadcrumbs
- All-purpose flour
- Eggs or buttermilk
- Seasoning Blend
- Kosher salt
- Fresh ground black pepper
- Garlic powder
- Paprika
- Chili powder
“The secret to incredible chicken tenders is in the details of your ingredients.” – Professional Chef
For extra crunch, try adding crushed cornflakes or shredded coconut to your recipe. These ingredients can make your chicken tenders amazing.
Choosing the right oil for frying is key. Here’s a comparison of good frying oils:
| Oil Type | Smoke Point | Flavor Profile |
|---|---|---|
| Avocado Oil | 520°F | Neutral, clean taste |
| Peanut Oil | 450°F | Slight nutty flavor |
| Canola Oil | 400°F | Very mild taste |
The quality of your ingredients affects the taste and texture of your chicken tenders. Choose fresh, high-quality ingredients for the best results.
The Secret to Ultra-Crispy Coating
Making the perfect crispy chicken coating is an art. It turns your chicken tenders into a dish that everyone loves. The right technique makes your dish a culinary masterpiece.
Choosing the Right Breadcrumbs
Panko-crusted tenders are the best for a crispy exterior. These Japanese breadcrumbs are light and airy. They give your chicken a crunchy texture.
When picking breadcrumbs, look for these qualities:
- Texture: Panko breadcrumbs are larger and more flaky than traditional breadcrumbs
- Crispiness: They absorb less oil, resulting in a crunchier finish
- Versatility: Easy to season and customize to your taste
The Mayo vs Egg Debate
Many chefs now use mayonnaise instead of eggs. Mayo makes the chicken tender and flavorful. It adds moisture to the coating.
“A thin layer of mayo can be the difference between good and great chicken tenders!” – Professional Chef
Seasoning Blend Tips
The right spices make your crispy chicken coating pop. A mix of herbs and spices can take your panko-crusted tenders to the next level:
- Smoked paprika for depth
- Cayenne pepper for heat
- Garlic powder for savory notes
- Salt and black pepper for balanced seasoning
Pro tip: Mix your seasonings into the breadcrumb mixture. It ensures even flavor. Your taste buds will love it!
Proper Oil Selection and Temperature Guide
Choosing the right oil for frying chicken tenders is key. It’s all about picking the right oil and keeping the temperature just right.
“The right oil transforms ordinary chicken tenders into a crispy, golden delicacy.”
For frying chicken tenders, use oils with high smoke points. These oils help your chicken stay crispy without burning or tasting bad.
- Peanut oil: Smoke point of 450°F, ideal for frying chicken tenders
- Canola oil: Versatile option with a 400°F smoke point
- Avocado oil: High smoke point around 520°F
- Vegetable shortening: Consistent 360°F temperature
Keeping the right temperature is very important. Your oil should stay between 350°F and 370°F. A digital thermometer is a big help here.
Temperature Tips for Perfect Frying
If the oil is too cool, your chicken tenders will soak up too much oil and get greasy. On the other hand, oil that’s too hot will burn the outside before the inside is cooked. Aim for 350-375°F for golden-brown, crispy chicken tenders.
Pro tip for frying chicken tenders: Pat the chicken dry before breading and let the breaded tenders rest for 10-15 minutes. This makes the coating stick better and adds extra crispiness.
“Temperature control is the difference between good and great chicken tenders.”
Safety and Quality Considerations
Always make sure your chicken is at least 165°F for it to be safe to eat. Use an instant-read thermometer like Thermapen® to check this while keeping the oil at the best frying temperature.
Step-by-Step Breading Technique
Learning to bread chicken tenders is key for that perfect crunch. The right coating can turn a simple meal into a crispy delight.
Flour Dredging Process
Your breading journey starts with flour. Mix together:
- All-purpose flour
- Salt and pepper
- Baking powder (for extra crispiness)
- Optional spices like paprika or garlic powder
Coating Application Methods
The secret to great chicken coating is a three-step process:
- Dredge chicken in seasoned flour
- Dip in egg wash or seasoned mayonnaise
- Coat thoroughly with breadcrumbs
“Press breadcrumbs gently to ensure maximum adhesion and crispy texture.”
Tips for Even Coverage
For professional breading, follow these tips:
- Shake off excess coating between steps
- Use potato starch for extra crunch
- Let coated tenders rest for 10 minutes before frying
Pro tip: Mixing baking powder into your flour creates tiny air bubbles, resulting in an incredibly crispy chicken tender coating.
Frying Methods and Best Practices
Mastering the art of frying chicken tenders needs precision and technique. When making fried chicken bites, picking the right oil and keeping the right temperature are key. This ensures that perfect golden-brown crunch.
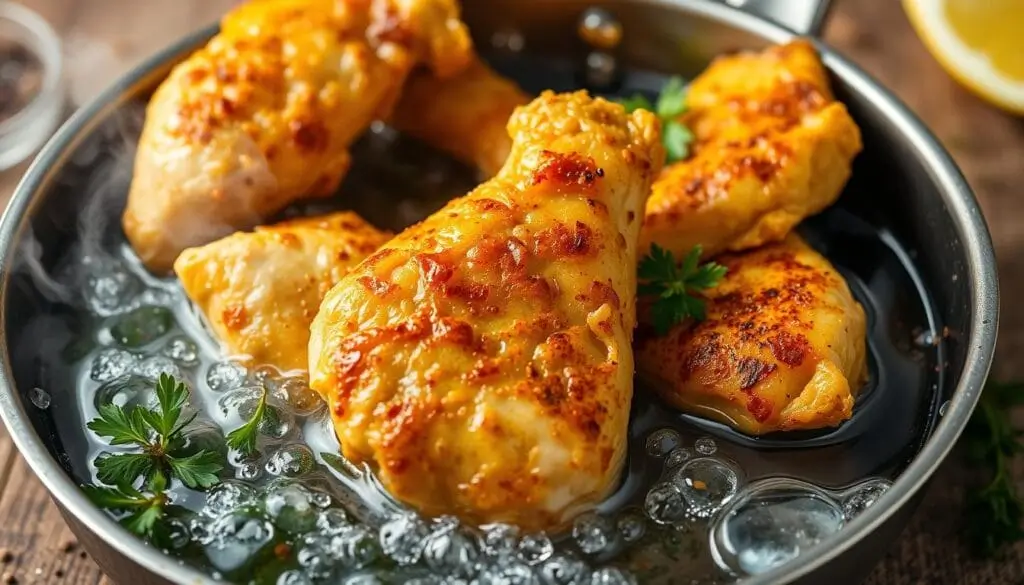
Choose oils with high smoke points for the best frying. Top picks include:
- Peanut oil
- Canola oil
- Safflower oil
- Sunflower oil
The ideal frying temperature is between 350-375°F. Maintaining consistent heat ensures crispy exterior and juicy interior. Use a deep-fry thermometer to keep the temperature right.
“Perfect frying is about controlling heat and timing” – Professional Chef Recommendation
Here are key tips for frying chicken tenders:
- Use a medium to large saucepan with enough oil
- Fry 4-6 tenders per batch to prevent overcrowding
- Cook 3-4 minutes per side until golden brown
- Check internal temperature reaches 165°F
Pro tip for frying chicken tenders: Always use tongs to handle the pieces. Let excess oil drip off before placing on a wire rack or paper towels. This keeps the crispy coating and reduces oil absorption.
Healthier Baking Alternative
Craving crispy chicken tenders but want to avoid extra oil? Baked chicken tenders are a tasty and healthier choice. They turn your favorite comfort food into a nutritious meal without losing flavor or texture.
It’s easy to make healthy chicken tenders at home. Just use your oven and a few simple steps. The goal is to get a crispy outside and a juicy inside.
Oven Temperature and Timing Secrets
To get perfect baked chicken tenders, follow these tips:
- Preheat your oven to 400°F
- Use a baking rack for maximum crispiness
- Bake for 10-13 minutes
- Ensure internal temperature reaches 165°F
Crispy Oven Baking Techniques
Here are some pro tips for ultra-crispy baked chicken tenders:
- Lightly spray tenders with cooking oil
- Use Panko breadcrumbs for extra crunch
- Avoid flipping during baking
- Optional: Broil for 1-2 minutes for extra golden color
| Baking Method | Calories per Serving | Cooking Time |
|---|---|---|
| Oven-Baked Chicken Tenders | 378 | 15 minutes |
| Deep-Fried Chicken Tenders | 500+ | 10 minutes |
“Baking chicken tenders is not just healthier, it’s a game-changer for home cooking!” – Culinary Expert
Pro tip: For gluten-free options, substitute all-purpose flour with almond flour or rice flour. Your baked chicken tenders will be just as delicious!
Must-Try Dipping Sauces and Pairings
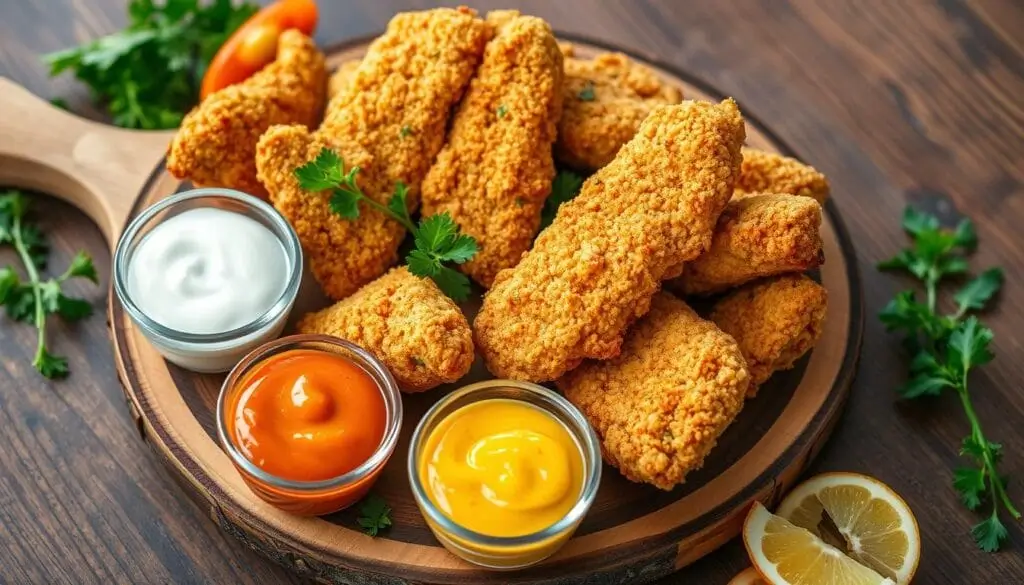
Take your chicken tenders to the next level with delicious dipping sauces. These sauces add a special touch that makes your meal unforgettable. Each one brings a unique taste that pairs perfectly with the crispy chicken tenders.
Top 6 Dipping Sauces to Tantalize Your Taste Buds
- Bang Bang Sauce: A zesty blend of mayonnaise, sweet chili sauce, Sriracha, and rice wine vinegar
- Sweet and Sour Sauce: A complex mixture featuring pineapple juice, ketchup, and chili flakes
- Spicy Honey Chipotle Sauce: Combining mayonnaise, BBQ sauce, honey, and Dijon mustard
- Alabama White BBQ Sauce: A tangy mix of mayonnaise, white wine vinegar, and spicy brown mustard
- Honey Mustard Sauce: Classic combination of mayonnaise, American and Dijon mustards, and liquid honey
- Restaurant Ranch Sauce: Creamy blend with mayonnaise, sour cream, and fresh herbs
Looking for sides to go with your chicken tenders? You have many tasty options. Try crispy French fries, fresh coleslaw, or roasted veggies for a complete meal.
“The right sauce can transform a good chicken tender into an unforgettable culinary experience.”
Beverage Pairings
- Refreshing lemonade
- Crisp iced tea
- For adults: Light beer or white wine
Pro tip: Try different dipping sauces to find your favorite. Each sauce offers a unique flavor that can make your meal even better.
Storage and Reheating Instructions
Keeping your homemade chicken tenders tasty and crispy is key. Knowing how to store and reheat them is important. This way, you can enjoy leftovers just as much as the first time.
Proper Storage Methods for Chicken Tenders
Here are some tips for storing chicken tenders:
- Cool chicken tenders completely before storing
- Use airtight containers to prevent moisture buildup
- Refrigerate within two hours of cooking
- Store in the refrigerator for 3-4 days maximum
Best Reheating Techniques
Reheating chicken tenders can be tricky. But these methods will keep them crispy:
- Oven Method: Preheat to 350°F, place tenders on a baking sheet, and heat for 10-12 minutes
- Air Fryer Method: Set to 375°F and reheat for 5-7 minutes
- Skillet Technique: Use medium heat with a touch of oil for 3-4 minutes
Pro Tip: Always ensure chicken tenders reach an internal temperature of 165°F for food safety.
Freezing for Long-Term Storage
Freezing chicken tenders is a great way to store them for longer:
- Place in freezer-safe containers or ziplock bags
- Remove excess air to prevent freezer burn
- Freeze for up to 2 months
- Thaw in refrigerator before reheating
By using these storing and reheating tips, your chicken tenders will stay crispy and delicious. Enjoy them for days after cooking.
Troubleshooting Common Issues
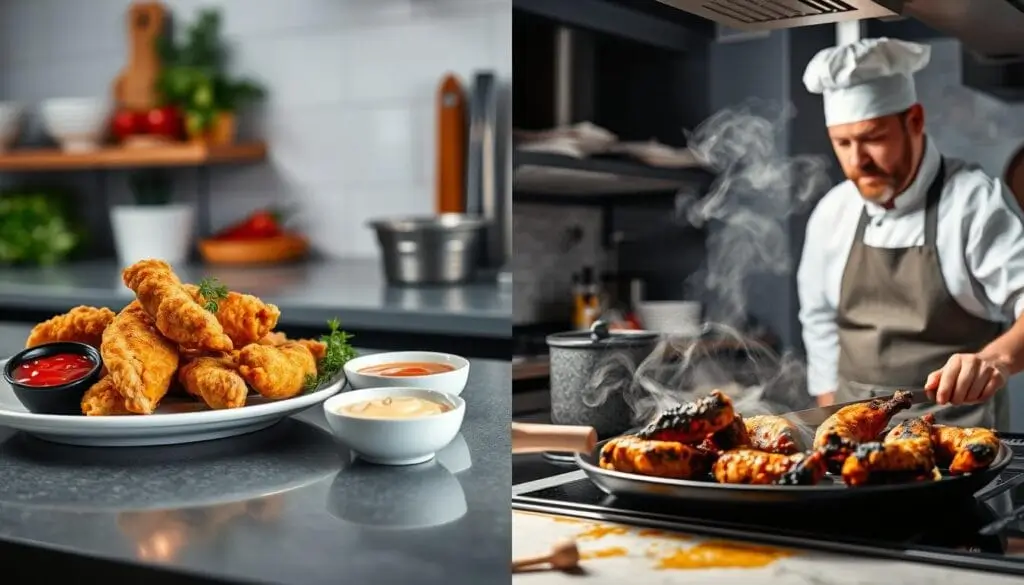
Fixing chicken tenders can be tricky, but with the right techniques, you’ll master the art of creating perfect crispy bites every time. Chicken tender problems often arise from common mistakes that even experienced home cooks encounter.
Let’s break down the most frequent issues you might face:
- Breading Falls Off
Ensure your chicken is completely dry before coating. Pat the chicken with paper towels and create a solid coating by:
- Dredging in flour first
- Dipping in egg wash
- Pressing breadcrumbs firmly onto the surface
- Uneven Cooking
Maintain consistent oil temperature around 365°F. Use a deep-fry thermometer to monitor heat and fry in small batches of approximately 1.5 pounds to prevent overcrowding.
- Soggy Texture
Prevent sogginess by:
- Draining cooked tenders on a wire rack
- Avoiding paper towels which trap moisture
- Allowing air circulation during cooling
“Perfect chicken tenders require patience and precision” – Professional Chef
When fixing chicken tenders, remember that internal temperature is key. Always ensure your chicken reaches 165°F for safe consumption. By following these tips, you’ll overcome common chicken tender problems and create restaurant-quality results at home.
Conclusion
Making homemade chicken tenders is more than just cooking. It’s an art that turns simple ingredients into a tasty meal. With practice and passion, your crispy chicken strips can become a favorite dish. The secret is knowing how to prepare and bread the chicken right.
Choosing quality ingredients is key to making great homemade chicken tenders. By controlling what you use and how you cook, you can make these strips better than store-bought ones. Each serving has 29g of protein and balanced nutrients, making them both tasty and healthy.
Getting good at making crispy chicken strips takes time and trying new things. Don’t get down if your first tries don’t turn out right. Every time you cook, you get closer to making tenders as good as those in restaurants. Pay attention to oil temperature, even breading, and fresh ingredients for the best results.
Your homemade chicken tenders are more than just food. They show off your cooking skills and creativity. With the tips from this guide, you can make simple chicken into a dish that everyone loves.
FAQ
What are the best types of chicken to use for chicken tenders?
Can I make chicken tenders without deep frying?
What makes the coating extra crispy?
How long can I store homemade chicken tenders?
What are the best dipping sauces for chicken tenders?
What oil is best for frying chicken tenders?
Can I make chicken tenders gluten-free?
How do I prevent the breading from falling off?
Have you cooked any of our recipes yet?
There are no reviews yet. Be the first one to write one.

