The Best Grilled Panini Recipe | Quick, Cheesy, and Flavorful

Table of Contents
Imagine a crispy, golden-brown grilled panini that turns your lunch into a gourmet treat. The panini press sizzles, the cheese melts, and you can’t wait to take that first bite. It’s more than a sandwich; it’s a culinary journey.
Looking for the perfect lunch? Your search ends here. With only 10 minutes of prep and 5 minutes of cooking, you’ll make a sandwich that rivals an Italian café. It’s perfect for anyone, whether you’re a busy pro or a home cook looking for something new.
Key Takeaways
- Quick and easy gourmet sandwich recipe
- Perfect for busy weeknights or leisurely lunches
- Customizable with various ingredients and cheeses
- Restaurant-quality taste in just 15 minutes
- Versatile panini press technique
Understanding the Perfect Grilled Panini
Explore the world of gourmet sandwiches that turn simple cafe fare into a feast. Panini are more than just lunch; they’re a journey through italian cuisine.
Panini are special sandwiches. They have a crispy outside and a warm, melted inside. They started in Milan in the 1970s and 1980s and soon became loved worldwide.
What Makes a Panini Different from Regular Sandwiches
- Pressed and grilled to create a golden, crispy texture
- Uses dense bread like ciabatta or sourdough
- Ingredients are fused together through heating
- Typically includes cheese on top and bottom of fillings
History and Origin of Panini
Panini began in Milanese bars and became a beloved street food. They first appeared in the US in 1956 but became popular in the 1980s.
“A panini is not just a sandwich, it’s a culinary experience that bridges tradition and innovation.”
Benefits of Making Panini at Home
| Benefit | Description |
|---|---|
| Customization | Create unique flavor combinations |
| Cost-Effective | Cheaper than restaurant gourmet sandwiches |
| Nutritional Control | Choose high-quality, fresh ingredients |
| Portion Management | Control serving sizes |
Whether you love cooking or just enjoy eating, making panini at home is a fun adventure. It lets you explore new flavors in your kitchen.
Essential Equipment for Panini Making
Making great sandwiches starts with the right tools. A panini press is key. It turns simple ingredients into amazing meals.
- Panini Press: The ultimate cooking companion
- Heat-resistant spatulas
- Non-scratch tongs
- Serrated knife
- Pastry brush
Now, let’s look at the best panini press options:
| Panini Press Model | Cooking Area | Temperature Range | Weight |
|---|---|---|---|
| Cuisinart Elite Griddler | 240 sq inches | Warm – 500°F | 21 pounds |
| Breville Sear and Press | 240 sq inches | 210 – 450°F | 15 pounds |
| Smokeless Panini Press | 100 sq inches | 175 – 425°F | 14 pounds |
Your panini press should cook evenly and adjust well. The Cuisinart Elite Griddler is great because it cooks many sandwiches at once.
“The right tools transform good sandwich recipes into culinary masterpieces.” – Professional Chef
Tip: Use wide, heat-resistant spatulas to handle your panini. A serrated knife helps you cut bread cleanly for perfect sandwiches.
Selecting the Right Bread for Your Panini
Choosing the perfect bread is key to a great panini. The right bread can turn a simple sandwich into a feast for your taste buds. It makes the bread grilling experience unforgettable.
Best Types of Bread for Grilling
Not all breads are the same for panini making. Some top picks include:
- Ciabatta: A classic Italian bread with perfect texture for toasted bread
- Sourdough: Offers a tangy flavor and sturdy structure
- French bread: Light and crispy when grilled
- Focaccia: Adds extra flavor and richness to your panini
Bread Thickness and Texture Considerations
The ideal panini bread should be about ½-inch thick. This thickness helps keep your sandwich in shape. It also balances the bread and filling perfectly.
| Bread Type | Texture | Best For |
|---|---|---|
| Ciabatta | Dense and chewy | Hearty meat-based paninis |
| Sourdough | Robust and tangy | Cheese-heavy paninis |
| French bread | Light and crispy | Vegetable and light fillings |
Storage Tips for Panini Bread
Keeping your bread fresh is crucial for perfect grilling. Store it in a cool, dry place, like a bread box or sealed container. Don’t refrigerate it, as this can make it stale faster.
“The bread is the foundation of a great panini – choose wisely!” – Culinary Expert
Pro tip: Always use fresh bread and avoid pre-sliced varieties that might become too soft during grilling. Your panini deserves the best possible foundation!
Premium Ingredients for a Gourmet Panini
Making a tasty gourmet sandwich means picking the best ingredients. Paninis in italian cuisine are perfect for amazing flavors.
- Artisan Meats
- Prosciutto di Parma
- Aged salami
- Imported coppa
- Specialty Cheeses
- Fresh mozzarella
- Aged provolone
- Gorgonzola
- Fresh Herbs and Spreads
- Homemade basil pesto
- Sun-dried tomato aioli
- Fresh basil leaves
To make a gourmet panini, choose ingredients wisely. Quality is more important than quantity. Use fresh, local ingredients for real italian flavors.
“Great food is about simple ingredients prepared with care and passion.” – Unknown Chef
Match your ingredients well for a great taste and texture mix. Your panini should share a story through its ingredients.
Pro tip: Try new veggies and cheese mixes to keep your sandwiches interesting and fresh.
Cheese Selection and Melting Tips
Making the perfect melted cheese is an art. It turns simple sandwiches into amazing dishes. The right cheese can make your panini go from good to great, offering a tasty journey in every bite.
Best Melting Cheeses for Panini
Choosing the right cheese is key for your panini. Chefs suggest some top cheeses for a creamy texture:
- Mozzarella: Provides classic stretchy texture
- Gruyère: Offers a nutty, complex flavor profile
- Cheddar: Delivers sharp, rich taste
- Provolone: Brings mild, smooth melting characteristics
Cheese Combinations and Pairings
Try new cheese mixes to enhance your experience. Here are some expert suggestions:
- Mozzarella + Parmesan: Creamy with sharp undertones
- Cheddar + Gruyère: Bold and sophisticated flavor
- Provolone + Fontina: Smooth and elegant blend
“The secret to an unforgettable gourmet sandwich is finding the perfect cheese harmony.” – Culinary Expert
For the best melted cheese, use medium-low heat. Aim for three cheese slices, adjusting for your bread size. This method ensures a creamy center without burning your panini.
Fresh and Flavorful Filling Options
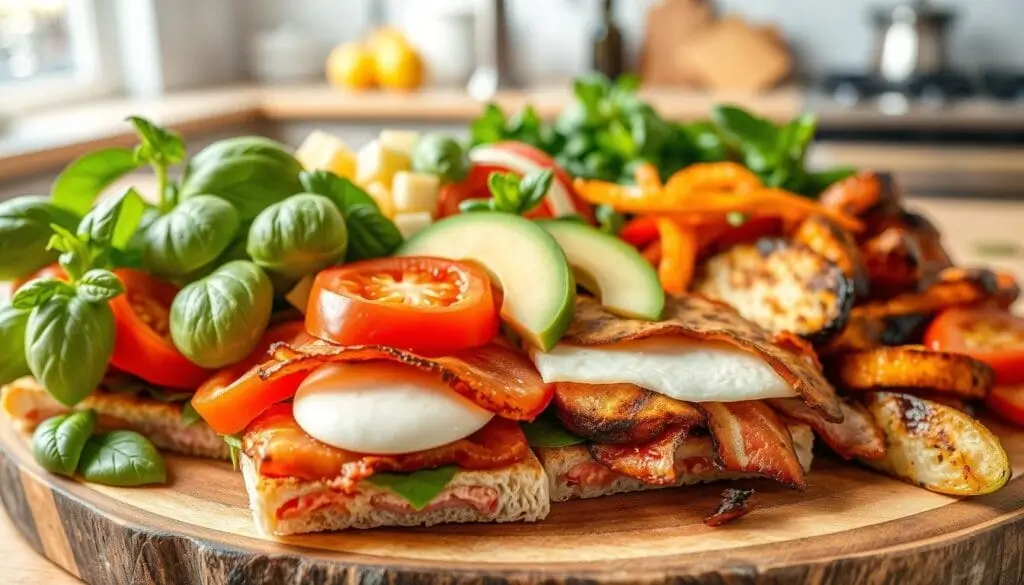
Making the perfect panini begins with choosing top-notch ingredients. Italian cuisine is full of amazing flavors that can turn a simple sandwich into a gourmet delight.
Here are some tasty filling options to try:
- Classic Italian Combinations
- Prosciutto with fig jam
- Caprese with fresh mozzarella, tomato, and basil
- Grilled chicken with homemade pesto
- Vegetable Enhancements
- Caramelized onions
- Roasted red peppers
- Sun-dried tomatoes
If you love protein, try different deli meats and grilled options. They add a new twist to your Italian-inspired sandwiches.
“The secret to an amazing panini is balancing flavors and textures.” – Chef Antonio Rossi
| Ingredient Category | Popular Choices | Flavor Profile |
|---|---|---|
| Meats | Prosciutto, Grilled Chicken | Rich, Savory |
| Cheeses | Mozzarella, Provolone | Creamy, Melty |
| Vegetables | Roasted Peppers, Spinach | Fresh, Earthy |
| Spreads | Pesto, Fig Jam | Tangy, Sweet |
Creating the ultimate panini is all about personal creativity. Feel free to mix and match ingredients. Try new flavors that show off your cooking skills.
The Art of Grilled Panini Assembly
Making gourmet sandwiches is like creating art. It turns simple ingredients into amazing dishes. To make your sandwiches stand out, focus on the details and technique.
Layering Techniques for Perfect Flavor Combinations
Getting the layers right is key to a great sandwich. Follow these steps:
- Spread a thin layer of condiment directly on the bread
- Place cheese next to the bread for optimal melting
- Arrange meats in the center of the sandwich
- Add fresh vegetables for crunch and freshness
Strategic Spreading and Seasoning Methods
Take your sandwiches to the next level with these seasoning tips:
- Use high-quality olive oil or melted butter on bread exteriors
- Season ingredients with salt, pepper, and fresh herbs
- Experiment with condiments like pesto, aioli, or balsamic reduction
“The secret to an amazing panini lies in the careful balance of flavors and textures.”
Pro tip: Brush the exterior bread with olive oil. This makes the crust crispy and golden, adding flavor and looks to your sandwiches.
Step-by-Step Grilling Instructions
Making the perfect grilled panini needs focus and care. Your panini press is crucial for turning simple ingredients into a top-notch sandwich. Follow these steps for a crispy, golden-brown delight.
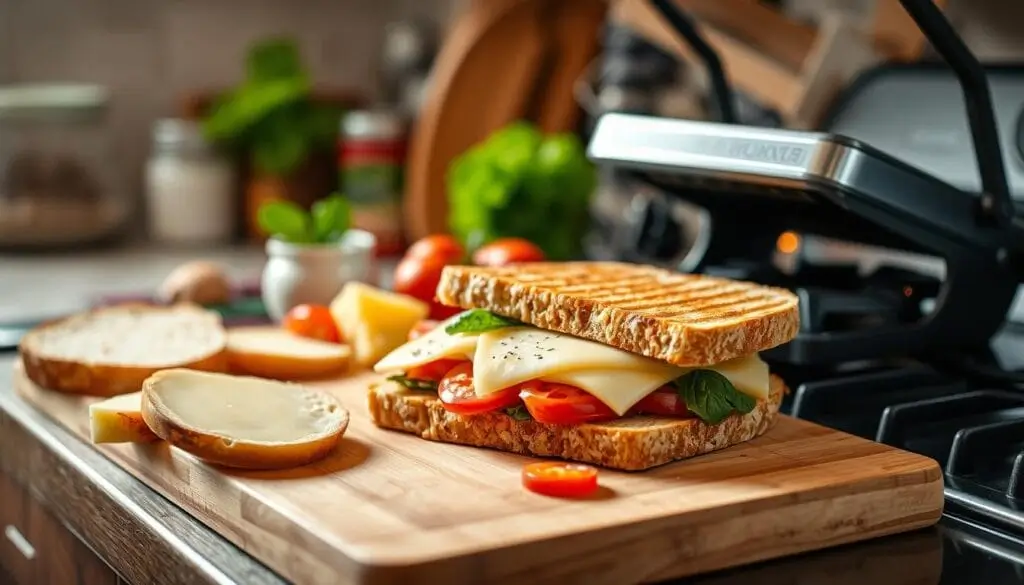
First, get your ingredients and tools ready. A clean and organized workspace makes grilling fun and easy.
Panini Press Preparation
- Preheat your panini press to medium-high heat (325-350°F)
- Ensure the surfaces are clean and lightly oiled
- Check that the press closes evenly for consistent grilling
Choosing the right bread is key. Opt for sturdy bread like sourdough or ciabatta. It holds up well to the grilling and pressing.
Grilling Technique
- Assemble your panini with carefully layered ingredients
- Spread butter or olive oil on the exterior bread surfaces
- Place the sandwich carefully on the preheated panini press
- Close the lid gently but firmly
- Grill for 4-6 minutes until bread turns golden brown
“The secret to a perfect grilled panini is patience and even heat distribution.”
Let your panini rest for 1-2 minutes after grilling. This helps the cheese melt and flavors blend. Cut it diagonally and serve right away for the best taste and texture.
Pro Tips
- Adjust pressing pressure based on bread thickness
- Use medium-high heat to achieve crispy exterior
- Avoid overstuffing to ensure even grilling
Follow these steps to make delicious grilled panini that match those from professional kitchens. Remember, practice makes perfect!
No Panini Press? Alternative Grilling Methods
Creating delicious sandwiches doesn’t need fancy tools. You can make great sandwiches with everyday kitchen items. These tools turn simple sandwiches into crispy, melted treats.
Without a panini press, you can still get that perfect crunch. Here are some creative ways to do it:
- Cast-Iron Skillet Method
- Grill Pan Technique
- Oven Pressing Strategy
- Toaster Oven Approach
The cast-iron skillet method is a favorite. Heat your skillet on medium. Butter the bread and put the sandwich in. Use weight to create pressure.
“Creativity in the kitchen means finding solutions with what you have.” – Culinary Wisdom
To get the best results, put a heavy pot or skillet on the sandwich. This applies pressure like a panini press. Flip the sandwich halfway for even browning.
| Grilling Method | Cooking Time | Electricity Cost |
|---|---|---|
| Stovetop Skillet | 4-5 minutes | $4.30 per month |
| Sandwich Maker | 2-3 minutes | $1.50 per month |
The oven method is great for making lots of sandwiches. Preheat to 425°F. Place sandwiches on a baking sheet. Use another sheet or a heavy skillet to press down. Bake for about 10 minutes, flipping once.
Remember, making sandwiches is all about trying new things. Your kitchen creativity can turn simple bread grilling into a fun adventure!
Classic Italian-Style Variations
Explore the world of authentic Italian cuisine with gourmet sandwiches. These sandwiches take you on a journey through Italy’s rich flavors and cooking traditions. Panini are more than just a sandwich; they’re a taste of Italy’s heart.
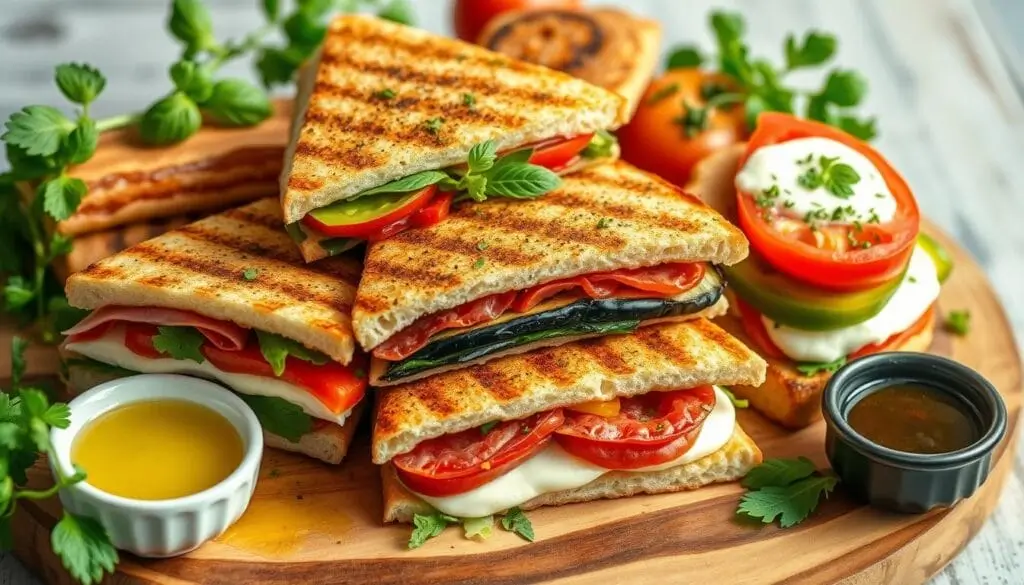
Traditional Italian Combinations
Discover the most loved panini combinations that highlight Italy’s best ingredients:
- Caprese Classic: Fresh mozzarella, ripe tomatoes, and aromatic basil
- Prosciutto with mozzarella and peppery arugula
- Salami and provolone with roasted red peppers
“A great panini is like a culinary postcard from Italy – every bite tells a story.”
Regional Italian Inspirations
Each Italian region adds its own twist to gourmet sandwiches. Here are some delicious variations:
- Tuscan-style panini with pecorino cheese and spicy salami
- Sicilian-inspired creation with eggplant, provolone, and sundried tomatoes
- Venetian panini featuring mortadella and fontina cheese
Pro tip: For an authentic taste, use crusty Italian breads like ciabatta or focaccia. Add extra virgin olive oil and red wine vinegar to make your homemade Italian dish even better.
Storage and Reheating Guidelines
Keeping your homemade panini tasty means storing and reheating it right. Use these tips to keep your sandwiches fresh and flavorful.
Refrigeration Best Practices
Put your panini in an airtight container to keep it good. Here’s how to store it:
- Refrigerate within 2 hours of making it
- Keep it in a sealed container for freshness
- Eat it within 3-4 days
Reheating Methods
To make your panini crispy and warm again, be careful. Don’t use the microwave to avoid soggy bread.
| Reheating Method | Temperature | Time |
|---|---|---|
| Oven | 350°F (175°C) | 5-7 minutes |
| Skillet | Medium heat | 2-3 minutes per side |
| Air Fryer | 350°F (175°C) | 3-5 minutes |
Pro Tips for Perfect Reheating
Crispy exterior secrets for your sandwich recipes:
- Brush bread with olive oil before reheating
- Cover with foil initially to prevent burning
- Let panini rest 1-2 minutes after heating
- Add fresh ingredients just before serving
Pro Chef Tip: Always reheat to an internal temperature of 165°F to ensure food safety!
Follow these tips for storing and reheating. Your lunch ideas will stay tasty and safe, making leftover panini taste like it was just grilled.
Serving Suggestions and Side Dishes
Make your lunch ideas stand out with the right side dishes. A well-grilled panini needs dishes that match its flavors and textures.

- Creamy Tomato Soup: A classic that adds warmth and tang to your sandwich
- Sweet Potato Fries with mild cheese topping
- Butternut Squash Soup for a luxurious touch
- Macaroni Salad with fresh vegetables
For a cafe-style look, try these serving tips:
- Cut your panini diagonally
- Serve on a wooden board
- Garnish with a pickle spear or olives
- Pair with an espresso or Italian soda
Remember, nutrition is key when enjoying lunch. Here are some side dish nutritional highlights:
| Side Dish | Calories | Protein | Carbohydrates |
|---|---|---|---|
| Grilled Sweet Potato Fries | 161 | 3g | 13g |
| Butternut Squash | 108 | 2g | 23g |
| Creamy Potato Soup | 302 | 7g | 41g |
“A great side dish doesn’t just complement a panini—it completes the meal experience.” – Culinary Expert
With these serving tips, your cafe fare will soar. Try different sides to find your favorite panini match!
Conclusion
Making grilled panini is more than just a sandwich—it’s a fun journey. It turns simple things into tasty lunch ideas. By learning to grill ciabatta rolls and pick the right cheese, your sandwiches will be amazing.
Being good at making panini means more than just cooking. You can add pesto, mayonnaise, or mustard to make it your own. Using a panini press helps get those perfect grill marks and toasts it just right.
Creating great grilled panini is all about trying new things and having fun. You can use ham, turkey, or try vegetarian options. Each sandwich is a chance to show off your cooking skills.
Your panini-making adventure is just starting. With time, you’ll get better and make sandwiches that wow everyone. Keep trying new things and enjoy every bite of your homemade panini.
FAQ
What is a panini?
Do I need a panini press to make panini?
What are the best breads for making panini?
What cheeses work best in panini?
How long should I grill a panini?
Can I make panini ahead of time?
What are some classic panini combinations?
How can I make my panini more gourmet?
Have you cooked any of our recipes yet?
There are no reviews yet. Be the first one to write one.

